
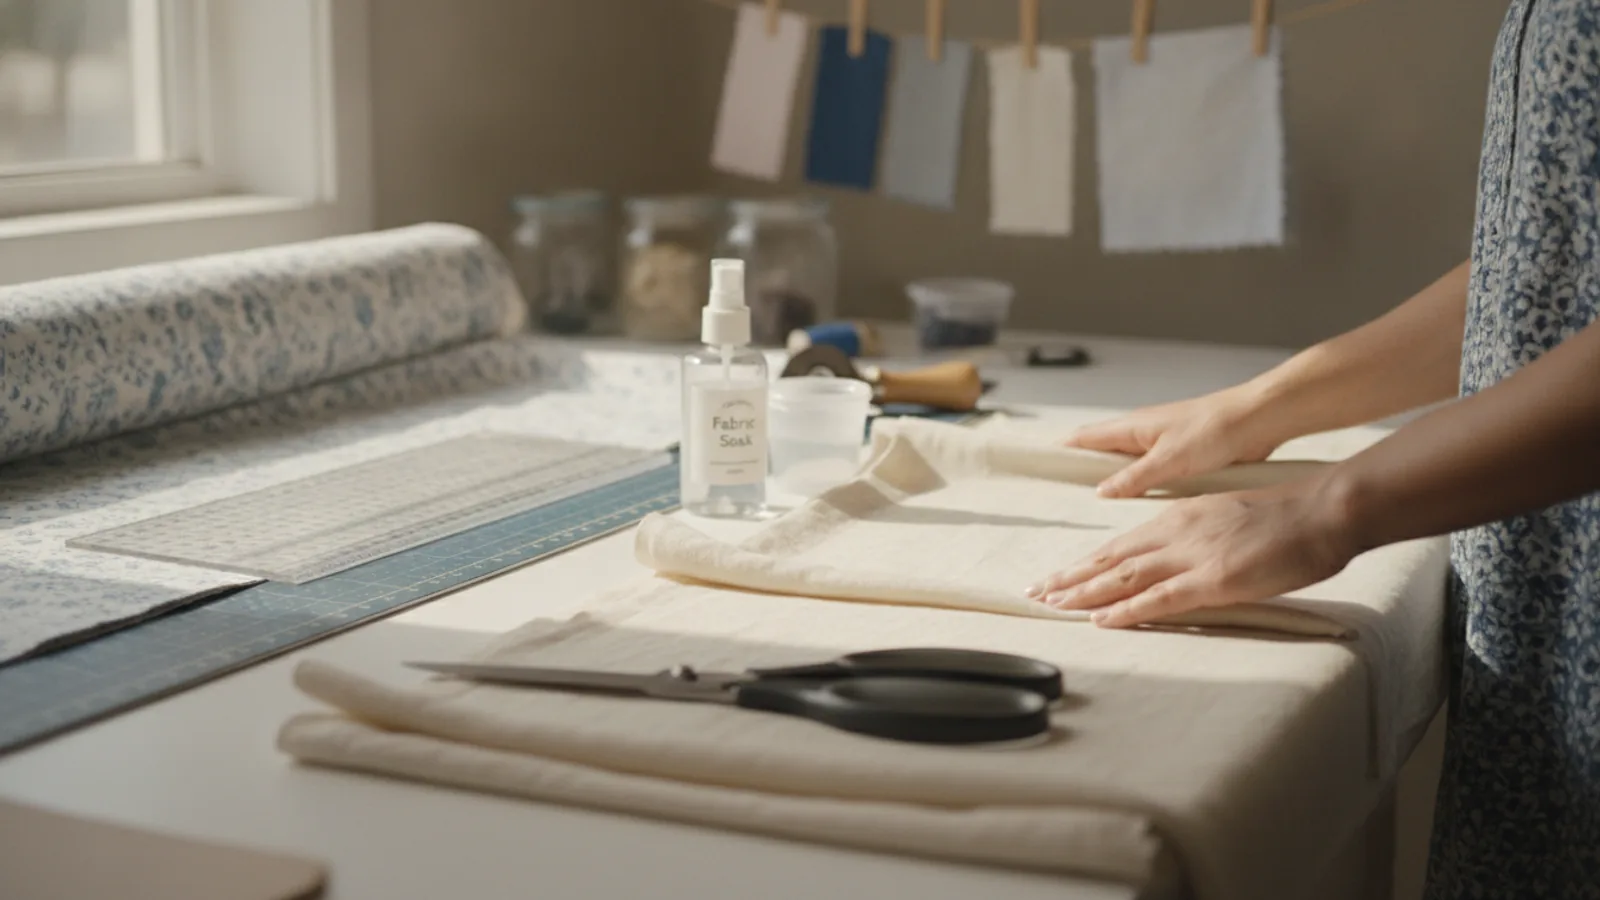
How To Prepare Fabric Before Sewing
This guide explains how to approach how to prepare fabric before sewing, including the preparation, practical steps, common mistakes, and final checks that help you finish with confidence.
Before You Start
Gathering your tools beforehand makes the process smooth and efficient. Most of these items are standard laundry and sewing supplies you likely already have on hand.
What You Need
Safety, Timing, or Context Checks
The most critical check is understanding your fabric's composition. Different fibres react to heat and water in dramatically different ways. A quick check now prevents permanent damage to your material before you've even cut a single pattern piece.
Step-by-Step Instructions
Follow these steps in order to ensure your fabric is perfectly pre-shrunk, clean, and stable, providing the best possible canvas for your sewing project.
Quick Reference
Common Problems When You Prepare Fabric Before Sewing
Even with careful preparation, you can run into a few common issues. Here’s how to troubleshoot them.
Advanced Tips for Preparing Fabric
Once you're comfortable with the basics, these techniques can help you handle more challenging materials and situations with confidence.
Block Fusing Interfacing
For projects that require a lot of interfacing, such as shirt collars, cuffs, or entire jacket fronts, it's often easier to apply the fusible interfacing to your main fabric before cutting out the pattern pieces. Wash, dry, and press your fabric as usual. Then, cut a piece of interfacing roughly the same size and fuse it to the wrong side of your fabric according to the manufacturer's directions. This "block" is now a single, stable piece from which you can cut your pattern pieces with greater accuracy.
Using Starch for Stability
Slippery or lightweight fabrics like viscose, silk, or cotton lawn can be difficult to cut accurately. A light mist of spray starch during the final pressing stage can work wonders. It gives the fabric temporary body and crispness, making it behave more like a stable cotton. This makes cutting and the initial stages of sewing much easier. The starch will wash out completely in the first wash of the finished garment.
Pre-treating Trims and Zips
Don't forget that other components of your project can shrink, too! Cotton twill tapes, ribbons, and the fabric tape on zippers can shrink at a different rate from your main fabric, causing puckering after the first wash. To prevent this, you can pre-treat them. Place trims and zips in a small mesh laundry bag and toss them in the wash with your fabric. Let them air dry.
How To Prepare Fabric Before Sewing FAQ
Final Checklist for Preparing Fabric
Before you lay out your pattern, run through this quick final check to ensure you're ready to sew.
FAQ
What should I check before I start?
Check the goal, the key prerequisite, and any current instructions that could change the safest next step for how to prepare fabric before sewing.
How can I tell whether the result is working?
Use the practical checks in the guide, pause if a required step is unclear, and verify the finished result against the intended outcome.