
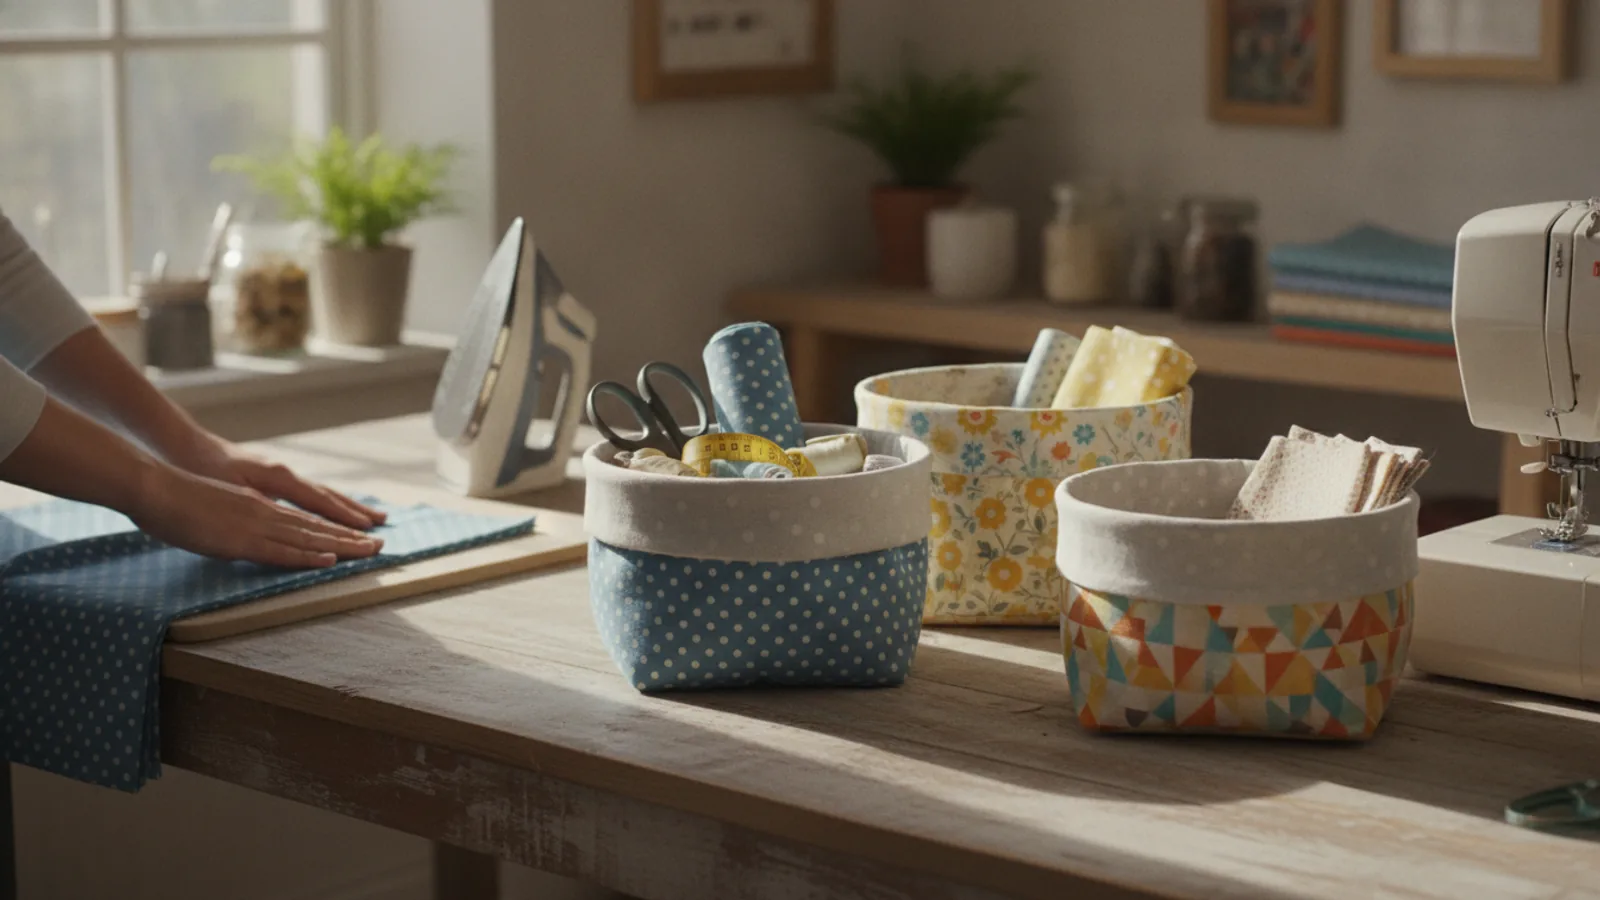
How To Make Simple Fabric Storage Baskets
This guide explains how to approach how to make simple fabric storage baskets, including the preparation, practical steps, common mistakes, and final checks that help you finish with confidence.
Before You Start
Step-by-Step Instructions
Quick Reference
Common Problems When You Make Simple Fabric Storage Baskets
Even a simple project can have a few hitches. Here are some common issues and how to solve them.
My basket collapses and won't stand up.
This is almost always an issue with the interfacing. If your basket is floppy, you likely used an interfacing that was too light-weight. The term "fusible fleece" is key for these projects, as it's thicker and spongier than standard interfacing, providing much more body. For future projects, choose a product specifically labelled as heavy-weight or for bag-making. To salvage a current project, you could try making a simple cardboard insert for the bottom.
The corners of my basket are rounded or uneven.
Sharp, symmetrical corners come from precision in two places: cutting and sewing. Ensure your initial fabric rectangles are perfectly square. When sewing the boxed corners, use a ruler to draw the sewing line rather than estimating it. Making sure the side seam is directly on top of the bottom seam before you sew is also critical for a symmetrical result.
My finished dimensions are smaller than I planned.
This usually happens due to inconsistent seam allowances. If you planned for a 1/2 inch seam allowance but sewed at 5/8 inch, you'll lose a little bit of fabric on every seam, and the final product will be noticeably smaller. Use the seam allowance guides on your sewing machine's throat plate, or use a magnetic seam guide to ensure every seam is consistent.
Advanced Tips for Simple Fabric Storage Baskets
Once you've mastered the basic basket, try these variations to elevate your project.
Add Simple Handles
To add handles, cut two pieces of outer fabric 12 inches long by 4 inches wide. Cut two corresponding pieces of interfacing. Fuse the interfacing to the wrong side of the fabric strips. Fold each strip in half lengthwise and press. Open it up, then fold the raw edges into the centre crease and press again. Fold in half along the original crease and topstitch along both long edges. You now have two sturdy handles. Before sewing the top rim of your basket (Step 7), baste the raw ends of the handles to the top edge of the outer basket, placing them about 3 inches in from each side seam.
Create a Reversible Basket
Choose two fabrics you love and make the basket fully reversible. The only change to the process is to be extra neat when closing the turning gap in the lining. A meticulous hand-sewn ladder stitch will make the seam virtually invisible, allowing you to flip the basket inside-out whenever you fancy a change.
Incorporate Exterior or Interior Pockets
Adding a pocket is easy, but it must be done early. Cut a rectangle of fabric for your pocket, hem the top edge, and press the other three edges under by 1/4 inch. Before you sew the main basket panels together (Step 3 or Step 5), simply topstitch the pocket onto the right side of one of the outer or lining panels wherever you'd like it.
How To Make Simple Fabric Storage Baskets FAQ
Final Checklist for Simple Fabric Storage Baskets
FAQ
What should I check before I start?
Check the goal, the key prerequisite, and any current instructions that could change the safest next step for how to make simple fabric storage baskets.
How can I tell whether the result is working?
Use the practical checks in the guide, pause if a required step is unclear, and verify the finished result against the intended outcome.