
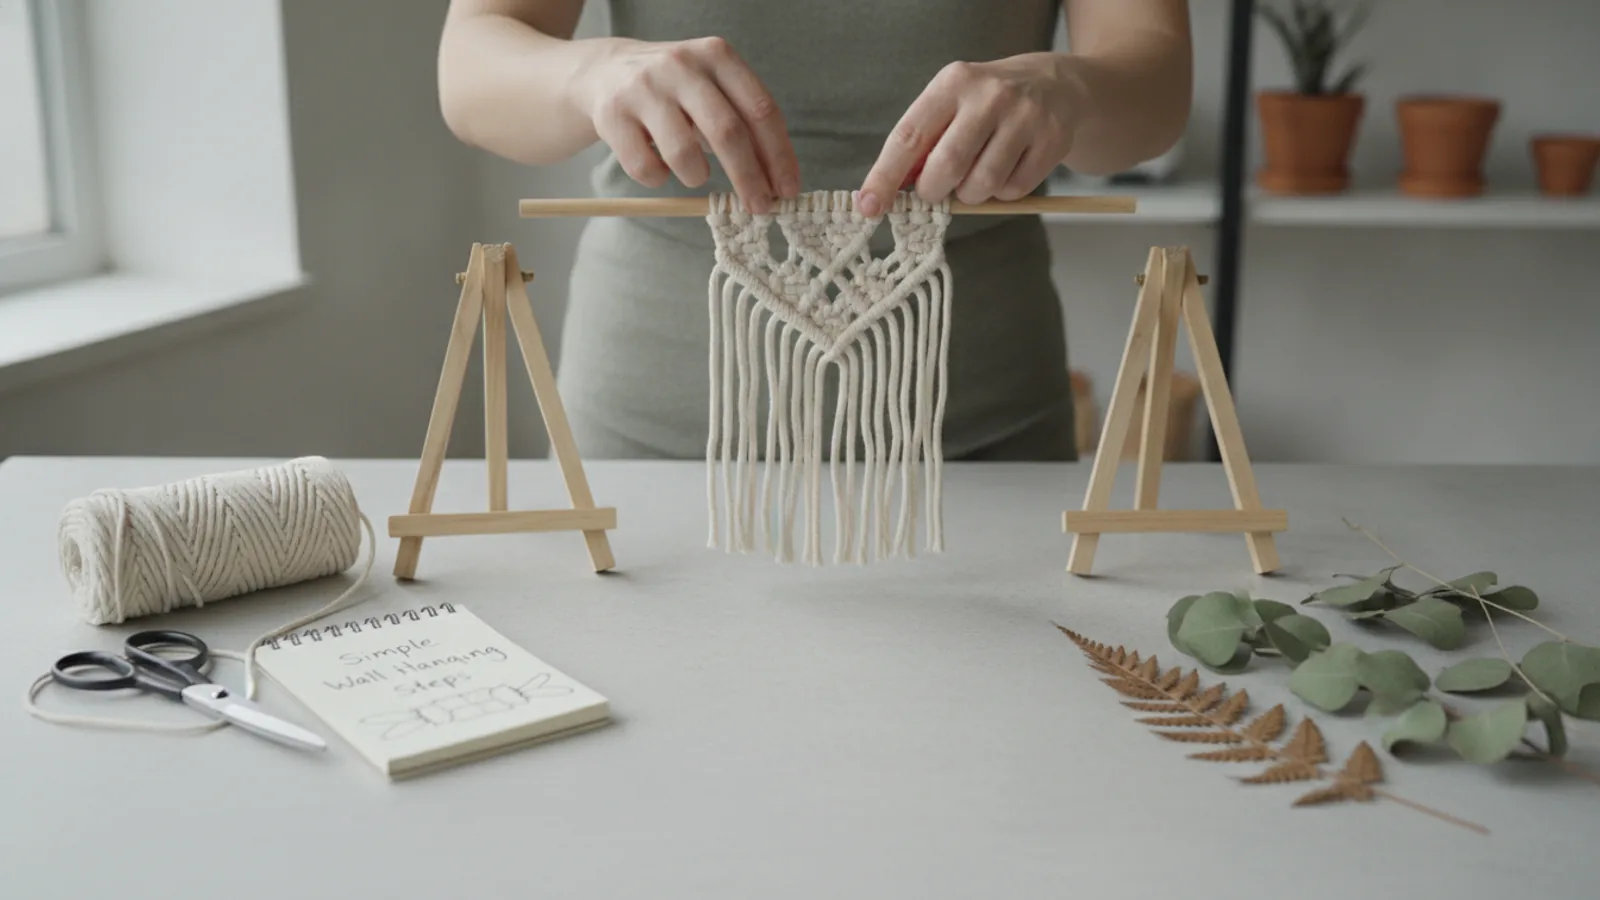
How To Make A Simple Wall Hanging
This guide explains how to approach how to make a simple wall hanging, including the preparation, practical steps, common mistakes, and final checks that help you finish with confidence.
Before You Start
Preparation is the key to a smooth crafting experience. Before you start cutting any yarn, take a few minutes to gather your materials and set up a comfortable workspace. This project is best done on a large, flat surface like a dining table or a clean floor, with good lighting to see your work clearly. Having everything you need within arm's reach will prevent interruptions and help you maintain a consistent rhythm as you build your wall hanging.
What You Need
Step-by-Step Instructions
Now that you're prepared, it's time to begin creating. We'll move through each stage methodically, from setting up the dowel to the final trim that gives your piece its professional finish. Work slowly and don't worry about perfection on your first try; the beauty of handmade items is in their unique character.
Quick Reference
Common Problems When You Make a Simple Wall Hanging
Even a simple project can have its tricky moments. Here are some common issues you might encounter and how to solve them without fuss.
Your Wall Hanging Bows in the Middle
If the dowel starts to bend or bow downwards once the yarn is attached, it means the yarn is too heavy for the dowel's thickness. Unfortunately, this is difficult to fix after the fact. The best solution is to start again with a thicker, sturdier dowel (at least 1.5 cm diameter for wider hangings). For your next project, always consider the weight of your chosen yarn relative to the strength of your base.
Your Knots Look Messy or Inconsistent
This usually happens from inconsistent tension when tightening the Lark's Head knots. Some are pulled very tight, others are left loose. To fix this, you can go back along the row and individually adjust each knot. Gently pull the tails to tighten, or lift the knot slightly to loosen it. Aim for them all to have the same snug fit on the dowel. A little practice on a spare piece of dowel first can help develop muscle memory.
You Run Out of Yarn Halfway Through
Miscalculating yarn is a common beginner mistake. If you run out of your primary colour, you have a few creative options. You can turn it into a design feature by finishing the piece with a different, complementary colour, creating a colour-blocked effect. Or, you can make a narrower wall hanging than you originally planned by centring the yarn you have attached and trimming the dowel's ends.
Advanced Tips for Your Wall Hanging
Once you've mastered the basic fringe, you can introduce more complex elements to make your future pieces truly unique.
Incorporate Different Textures
Don't limit yourself to just one type of yarn. Try attaching a few strands of a wildly different texture—like thin silk ribbon, thick felted wool, or even strips of recycled fabric—among your primary yarn. This creates immediate visual interest and a tactile quality that invites people to take a closer look.
Experiment with Natural Dyes
For a truly custom piece, try dyeing your own cotton cord. Natural materials can produce beautiful, subtle colours. Avocado stones and skins create a lovely dusty pink, onion skins can yield yellows and oranges, and black tea will give you a soft tan colour. There are many simple tutorials online for stove-top dyeing that are perfectly safe for beginners.
Create Layers and Depth
Instead of attaching all your yarn in a single row, you can create layers. Attach a back row of long strands. Then, attach a second row in front of it with shorter strands of a different colour. When you trim the front layer, it allows the back layer to peek through, creating a sense of depth and dimension.
How To Make A Simple Wall Hanging FAQ
What's the best type of yarn for beginners?
The best choice for a beginner is a chunky, single-strand cotton cord around 3-5mm thick. It's easy to grip, the knots are clearly visible which helps with learning, and it hangs with a nice weight. Thick wool roving is another great option for a softer, more rustic aesthetic.
How do I choose the right size dowel?
Consider the scale of the wall where you plan to hang it. A small space might suit a 30cm dowel, while a larger feature wall could handle a 60cm or even 90cm dowel. The key is proportion. As a rule of thumb, the length of the yarn hanging down should be roughly 1.5 to 2 times the width of the dowel.
Can I make a wall hanging without a dowel?
Absolutely. A beautiful, weathered piece of driftwood found on a beach can make a stunning and natural base. You can also use a copper pipe for an industrial-modern look, or a large brass or wooden embroidery hoop for a circular design. Just ensure your chosen base is strong and clean.
How do I clean my finished wall hanging?
These pieces are for decoration and shouldn't need heavy cleaning. For dust, take the hanging outside and give it a gentle but firm shake. You can also use a lint roller or the upholstery attachment of a vacuum cleaner on its lowest setting. For any small spills, spot-clean immediately with a damp cloth and a tiny amount of mild soap, but avoid soaking the fibres.
Final Checklist for Your Wall Hanging
Before you hang your new creation, run through this final checklist to ensure it's looking its best.