
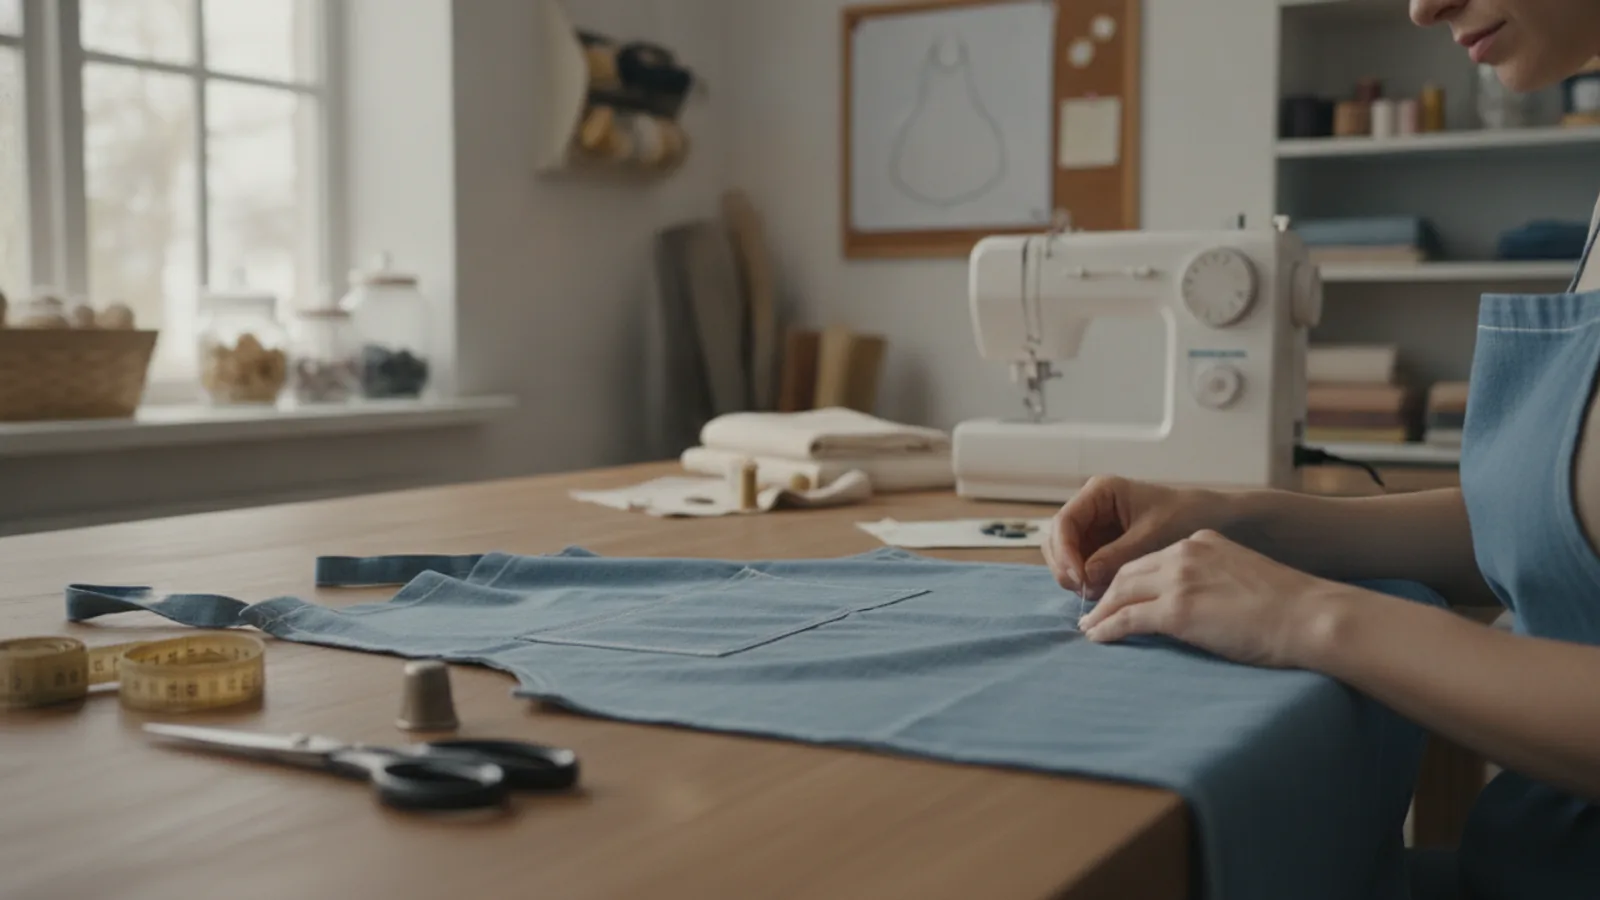
How To Make A Simple Apron
This guide explains how to approach how to make a simple apron, including the preparation, practical steps, common mistakes, and final checks that help you finish with confidence.
Before You Start
Gathering your materials and preparing your workspace is the first step to a successful project. A little preparation now prevents mistakes later. Ensure you have a clean, flat surface large enough to lay out your fabric for cutting.
What You Need
Safety, Timing, and Context Checks
Before you make the first cut, there are a few checks to perform. These steps ensure your final apron fits well, lasts a long time, and is safe to work on.
Step-by-Step Instructions
Follow these steps carefully for a beautifully finished apron. Remember that accurate cutting and pressing are just as important as the sewing itself. Take your time and enjoy the process.
Quick Reference
Common Problems When You Make A Simple Apron
Even simple projects can have their tricky moments. Here are a few common issues and how to solve them.
- Puckered Seams: If your fabric is gathering or puckering along the stitch line, it's likely an issue with your sewing machine's thread tension. The top and bobbin threads are pulling against each other unevenly. The quickest fix is to re-thread your machine completely, both the top thread and the bobbin. Consult your machine's manual to adjust the tension dial, testing on a scrap of fabric until the stitch is flat and even on both sides.
- Wobbly or Uneven Hems: A wavy hem is almost always caused by inconsistent folding or stretching the fabric as you sew. The solution is in the preparation. When you press your hems, use a seam gauge or ruler to ensure the fold is exactly the same width all the way along. Pin generously to stop it from shifting. When sewing, guide the fabric gently—don't push or pull it through the machine.
- Straps Attached at Different Heights: It's easy to misalign the waist straps. Before you sew, lay the apron flat and use your measuring tape to mark the exact attachment point for each strap. Measure down from the top corner and in from the side edge. Pin them in place and double-check they look symmetrical before you commit to stitching.
Advanced Tips for a Simple Apron
Once you've mastered the basic apron, you can easily add features to make it more functional and stylish.
- Add a Pocket (or Two): A simple patch pocket is a great addition. Cut a square or rectangle of fabric (e.g., 20cm x 20cm). Hem the top edge with a double fold. Then, fold and press the other three edges under by 1cm. Pin the pocket to the front of your apron in your desired location and topstitch it in place along the three folded sides.
- Use Contrasting Fabrics: Make your apron stand out by using a different, complementary fabric for the straps, ties, and pocket. This is a fantastic way to use up smaller fabric scraps and add a designer touch.
- Create an Adjustable D-Ring Neck Strap: Instead of sewing the neck strap in place, make it fully adjustable. Cut the neck strap in half. Hem one end of one piece. On the other piece, loop the raw end through two D-rings (like a belt buckle) and sew it back on itself to secure the rings. Attach the hemmed end to one side of the apron casing and the D-ring end to the other.
- Reversible Apron: Create two identical apron bodies from different fabrics. Place them with right sides together and sew around the sides and bottom. Turn it right-side out, press, and then create the top casing and attach the straps through both layers. This gives you two aprons in one.
How To Make A Simple Apron FAQ
What is the best fabric for a beginner's apron?
Do I really need to wash the fabric first?
Can I make an apron without a sewing machine?
How can I make a child-sized apron from this pattern?
Final Checklist for a Simple Apron
Before you start using your new apron, run through this final quality check to ensure it's ready for action.
- Fabric was pre-washed and ironed before cutting to prevent future shrinking.
- All pieces were cut accurately and with straight edges.
- Straps and ties are folded and stitched evenly for a neat appearance.
- All hems are double-folded to enclose raw edges, pressed flat, and sewn securely.
- Waist ties are attached symmetrically and reinforced with a square or cross-stitch for strength.
- The neck strap moves freely through the top casing or is secured neatly.
- All loose threads from starting and stopping seams have been trimmed away.
- The entire apron has received a final press to give it a crisp, finished look.