
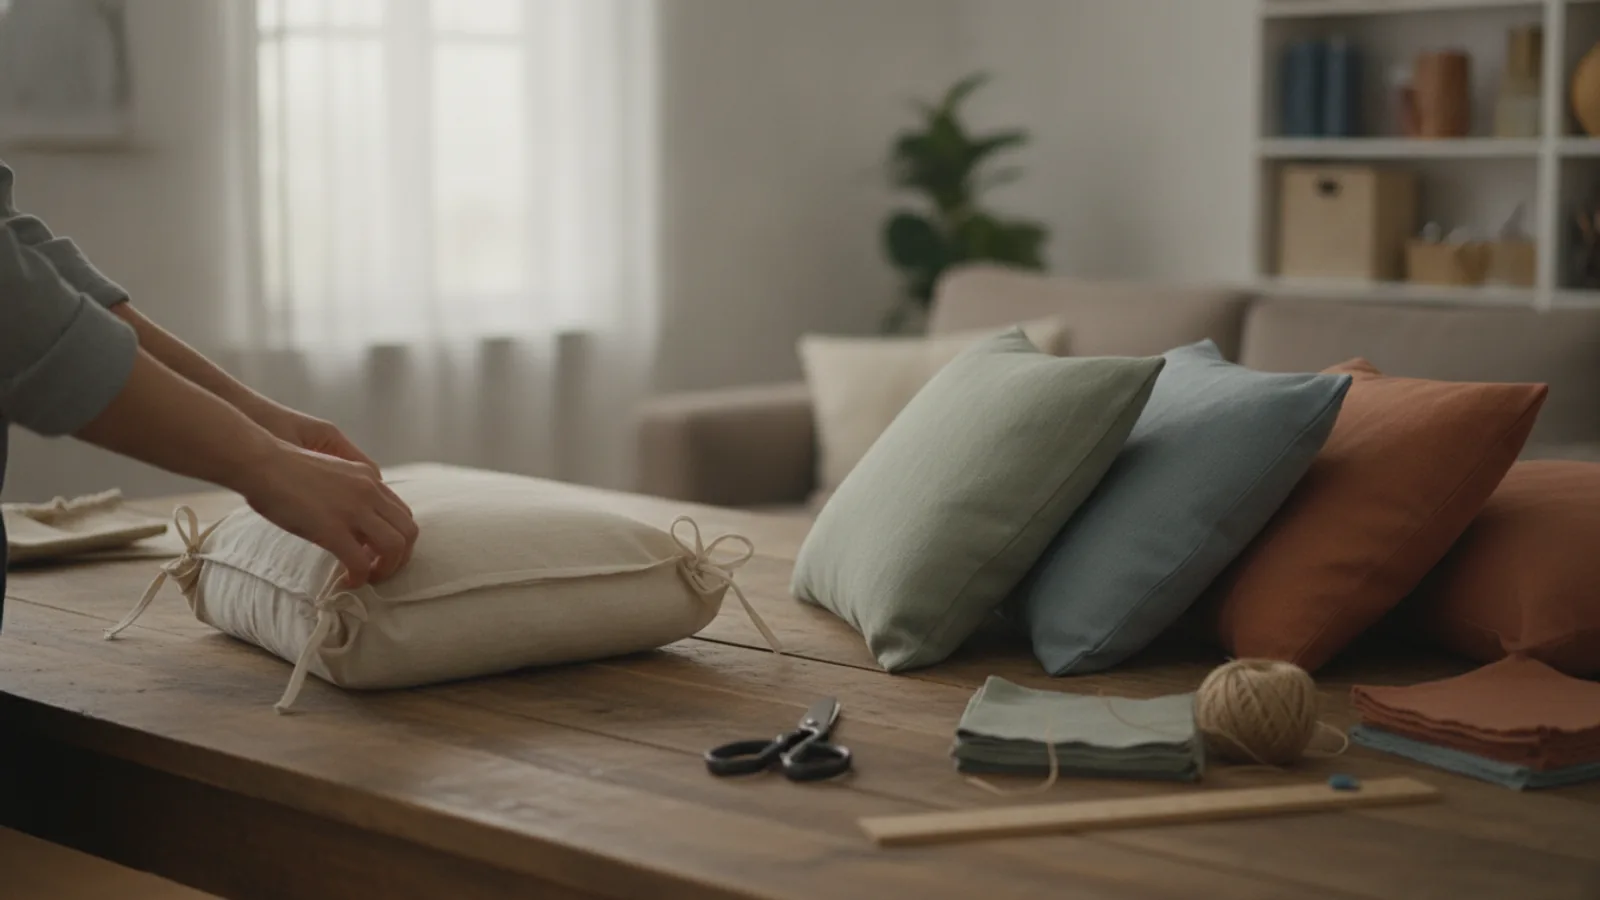
How To Make A No Sew Cushion Cover
This guide explains how to approach how to make a no sew cushion cover, including the preparation, practical steps, common mistakes, and final checks that help you finish with confidence.
Before You Start
Gathering the right materials and setting up your workspace properly is the key to a great result. The most important step in this entire project is measuring your fabric correctly. Taking a few extra minutes here will save you from frustration later.
What You Need
Safety, Timing, and Context Checks
Choose your fabric based on the room's use. For a living room sofa, a durable cotton or canvas might be best. For a cosy bedroom, soft fleece or flannel is a great choice. Ensure your workspace is large enough to lay your fabric completely flat. A large table or a clean floor is perfect.
If using a rotary cutter, always use a self-healing mat to protect your surfaces and keep the blade sharp. Always cut away from your body and keep your fingers clear of the ruler's edge. This project is simple, but sharp tools always require your full attention.
Step-by-Step Instructions
Quick Reference
Common Problems When You Make A No Sew Cushion Cover
Even a simple project can have a few tricky spots. Here are solutions to some common issues you might encounter.
Gaps Are Showing Between the Knots
If you can see your cushion insert peeking through the fringe, it usually means your knots are too far apart. This can happen if you cut your fringe strips too thin. For your next project, try cutting slightly wider strips, around 1.5 inches. To fix an existing cover, you can try untying a section and re-tying the knots, pulling them tighter against each other. In some cases, you might be able to tie adjacent fringe strips together to close a persistent gap.
The Finished Cushion Cover Looks Lumpy
Lumpiness is often caused by the cushion insert not being properly seated before the final side is tied shut. It can also happen if your fabric cover is slightly too large for the insert. To fix this, you can untie one side, readjust the cushion insert, making sure it's smooth and fills the corners, and then re-tie the fringe. For a plumper, more professional look, always use a cushion insert that is 1-2 inches larger than your finished cover dimensions.
My Fabric Is Fraying Badly
This is a common issue with loosely woven fabrics like some types of cotton or linen. The best solution is prevention: choose a non-fraying fabric like fleece, felt, or a knit jersey for your first project. If you are set on using a woven fabric, you can apply a liquid seam sealant or fray-check product to the edges of the fabric after cutting the fringe but before tying. This clear liquid dries hard and stops the threads from unravelling.
Advanced Tips for Your No Sew Cushion Cover
Once you've mastered the basic technique, try these variations to take your creations to the next level.
Use Alternative No-Sew Methods
The tie-knot method is just one way to make a no sew cushion cover. For a cleaner look without a fringe, you can use iron-on hemming tape or permanent fabric glue. For this method, you would cut two pieces of fabric the exact size of your cushion, plus a 1-inch seam allowance. Place the fabric with right sides together, apply the tape or glue along three edges, turn it right-side-out, insert the cushion, and then seal the final edge. This creates a sharp, seam-like finish.
Mix and Match Fabrics
Create a reversible or two-tone cushion by using a different fabric for the front and back. You could pair a patterned fabric with a solid colour pulled from the pattern, or mix textures like fleece and cotton canvas. This is a great way to use up smaller pieces of leftover fabric from other projects.
Add Embellishments
Give your cushion extra personality by adding decorative elements. You can thread a wooden or colourful plastic bead onto a fringe strip before tying the knot. Alternatively, you can tie small tassels or pom-poms into the knots at the corners for a bohemian look. These small touches can elevate your simple cushion cover into a unique statement piece.
How To Make A No Sew Cushion Cover FAQ
What is the best fabric for a no sew cushion cover?
For beginners, fleece is the undisputed champion. It's soft, easy to cut, has a slight stretch which is forgiving, and most importantly, it does not fray. Other great options include felt, flannel, and knit jersey fabrics. If you want to use standard cotton or canvas, be prepared for some potential fraying.
How much fabric do I need for a no sew cushion?
The formula is simple: measure the width and height of your cushion insert. Add 8 to 10 inches to both of these measurements. You will need two pieces of fabric cut to this final size. For example, a 16x16 inch cushion needs two pieces of 24x24 inch fabric.
Can I wash a no sew cushion cover?
Yes, most can be washed. If you used the tie-knot method, you can simply untie one side, remove the cushion insert, and then wash the cover according to the fabric's care instructions. After washing, you can re-insert the cushion and tie it back up. If you used fabric glue or hemming tape, check the product's packaging to ensure it's washable.
How do I make the fringe look neat and tidy?
Consistency is key. Use a ruler and fabric marker to draw your cutting lines for the fringe. This ensures every strip is the same width. When you cut, use long, confident strokes with sharp scissors. Finally, when tying the knots, pull each one with consistent tension to create a uniform look all the way around.
Final Checklist for Making a No Sew Cushion Cover
Before you place your new cushion on the sofa, run through this quick final check to ensure it's perfect.