
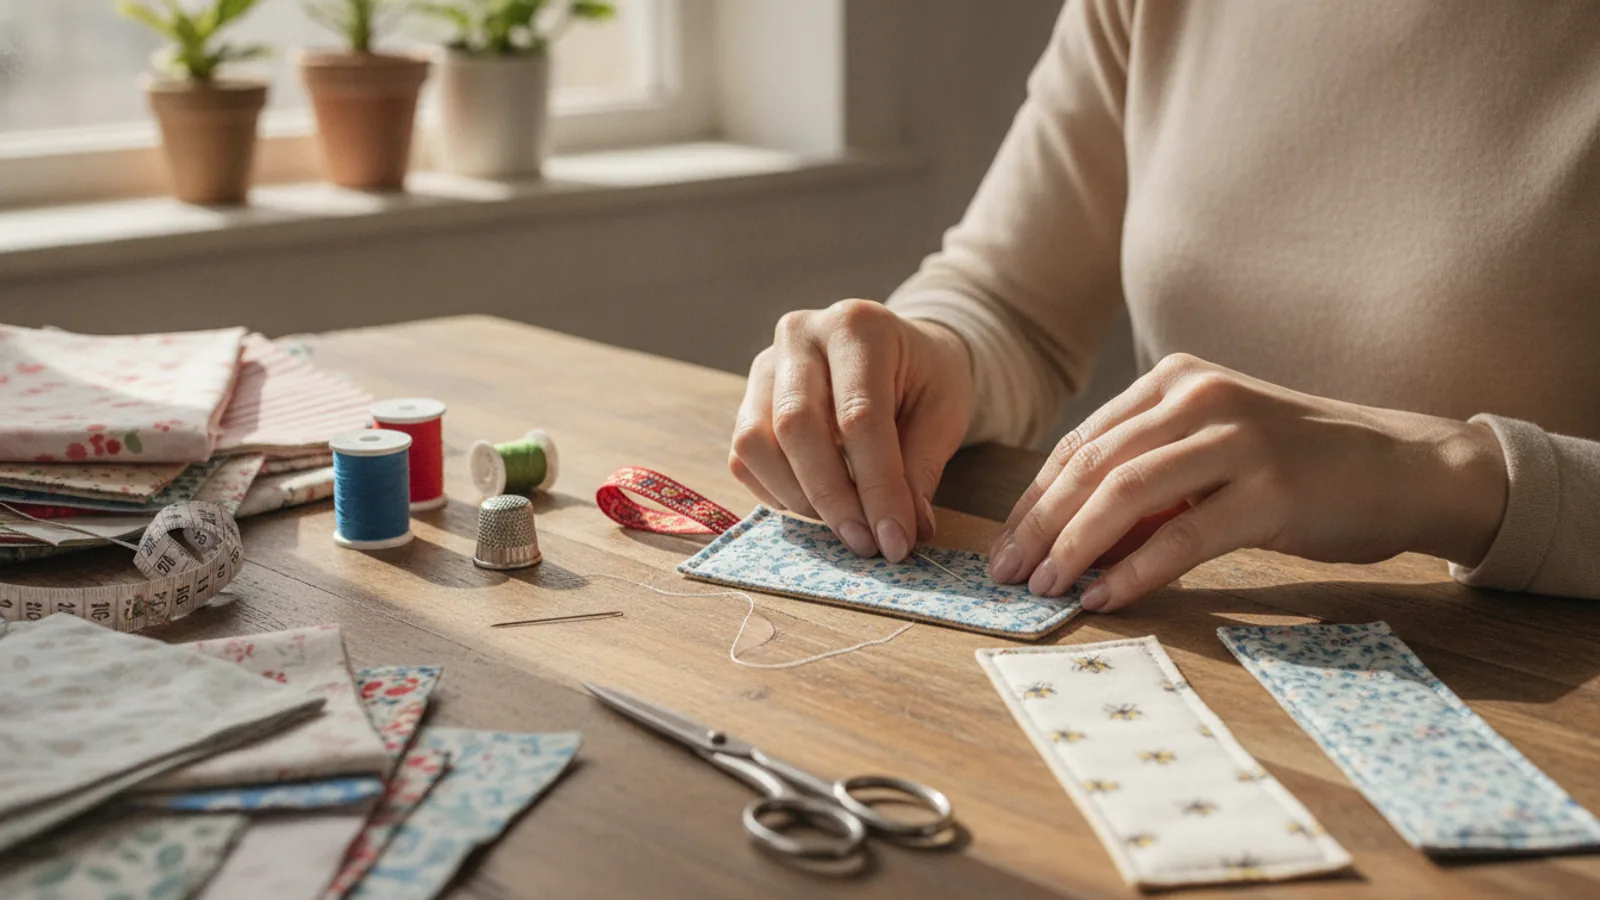
How To Make A Fabric Bookmark
This guide explains how to approach how to make a fabric bookmark, including the preparation, practical steps, common mistakes, and final checks that help you finish with confidence.
Before You Start
Gathering your materials before you begin is the key to a smooth and enjoyable crafting session. This project doesn't require much, and you may already have everything you need in your sewing kit. Having your tools ready and your workspace prepared will make the process much faster.
What You Need
Safety, Timing, or Context Checks
Before you plug in the iron or start the sewing machine, run through these quick checks. They'll help prevent common mistakes and ensure your safety and the quality of your finished bookmark.
Step-by-Step Instructions
Follow these detailed steps to create your fabric bookmark. We'll break down each part of the process, from cutting the initial pieces to the final decorative stitch that gives it a polished look.
Quick Reference
Common Problems When You Make a Fabric Bookmark
Even a simple project can have its tricky moments. Here are solutions to some common issues you might encounter while making your fabric bookmark.
Wobbly or Uneven Topstitching
The Problem: Your final line of stitching around the edge is crooked and doesn't maintain an even distance from the edge.
The Fix: This is usually caused by sewing too fast or inadvertently pushing or pulling the fabric instead of guiding it. Slow down your sewing speed, especially around the corners. Use the edge of your presser foot as a consistent guide. Most presser feet have markings or edges that correspond to a certain distance from the needle, which you can align with the edge of your bookmark.
The Interfacing Bubbles or Won't Stick
The Problem: After pressing, the interfacing has bubbles, or it peels away from the fabric easily.
The Fix: This is almost always an issue with heat, time, or pressure. First, ensure your iron is hot enough and that you're not using the steam setting (unless the instructions specifically say to). When you press, don't glide the iron. Place it down firmly on one section and hold it for a full 10-15 seconds before lifting and moving to the next overlapping section. Let the piece cool completely to allow the adhesive to set before you handle it.
The Turning Gap Looks Obvious and Messy
The Problem: After topstitching, the area where you closed the gap is puckered or doesn't align with the rest of the seam.
The Fix: The key to an invisible closure is a good press before you topstitch. When you turn the bookmark right-side out, take extra care to fold the raw edges of the gap inwards so they are perfectly flush with the sewn edge. Press this crease firmly with your iron. For extra security, you can use a tiny dab of fabric glue or a temporary basting stitch to hold the gap closed while you take it to the machine.
Advanced Tips for Your Fabric Bookmark
Once you've mastered the basic bookmark, try these creative variations to elevate your project and make each one unique.
Incorporate Decorative Stitches
Most modern sewing machines come with a variety of decorative stitches. Instead of a simple straight stitch for your topstitching, explore your machine's options. A zigzag, scallop, or honeycomb stitch can add a beautiful, intricate border to your bookmark. Always test your chosen stitch on a scrap piece of fabric first to check the tension and appearance.
Create a Patchwork Design
If you have lots of very small, coordinating fabric scraps, don't throw them away. Stitch them together to create a larger piece of "made-fabric." Press the seams open on the back, and then cut your bookmark rectangle from this unique patchwork piece. This is a fantastic way to create a one-of-a-kind, scrappy bookmark.
Add Personalisation with Embroidery
Before you sew the two main bookmark pieces together, you can add a personal touch with embroidery. Use an embroidery hoop to stitch a name, initial, or a simple design onto the fabric piece that will be the front. This can be done by hand with embroidery floss or with an embroidery machine if you have one.
Try Different Shapes
Who says bookmarks have to be rectangles? You can create a pointed end by cutting the bottom of your fabric into a chevron shape. Or, round the corners using a small circular object like a coin as a template before you sew. Remember to adjust your sewing technique to handle curves, sewing slowly and carefully.
How To Make A Fabric Bookmark FAQ
What is the best fabric for a bookmark?
For beginners, 100% cotton fabric, especially quilting cotton, is the best choice. It is stable, easy to sew, presses beautifully, and is available in an endless variety of colours and patterns. As you get more confident, you can experiment with linen, chambray, or corduroy.
Can I make this project without a sewing machine?
Absolutely. You can easily hand-sew a fabric bookmark. Use a simple and strong stitch like the backstitch for the main seam. For the final topstitching, a neat running stitch can look very charming. It will take more time, but the result is a truly handmade item.
What if I don't have fusible interfacing?
If you don't have interfacing, you can use a third layer of plain, medium-weight fabric (like cotton canvas or calico) sandwiched between your outer layers. While it won't be as crisp as using fusible interfacing, it will add some necessary body and weight.
How can I add a tassel or charm?
The easiest way is to incorporate a ribbon loop, as described in the steps. You can then attach a tassel or a charm to this loop after the bookmark is complete. Alternatively, you can install a metal eyelet at the top of the finished bookmark and thread your tassel through it for a very durable and professional finish.
How do I care for my finished fabric bookmark?
Fabric bookmarks are quite durable. If one gets a bit grubby, it's best to hand wash it in cool water with a small amount of mild soap. Avoid wringing it out. Instead, gently squeeze out the excess water, reshape it, and lay it flat on a towel to air dry. Once dry, you can press it with a hot iron to make it crisp again.
Final Checklist for Making a Fabric Bookmark
Before you place your new creation in your favourite book, run through this final checklist to ensure you haven't missed a step.