
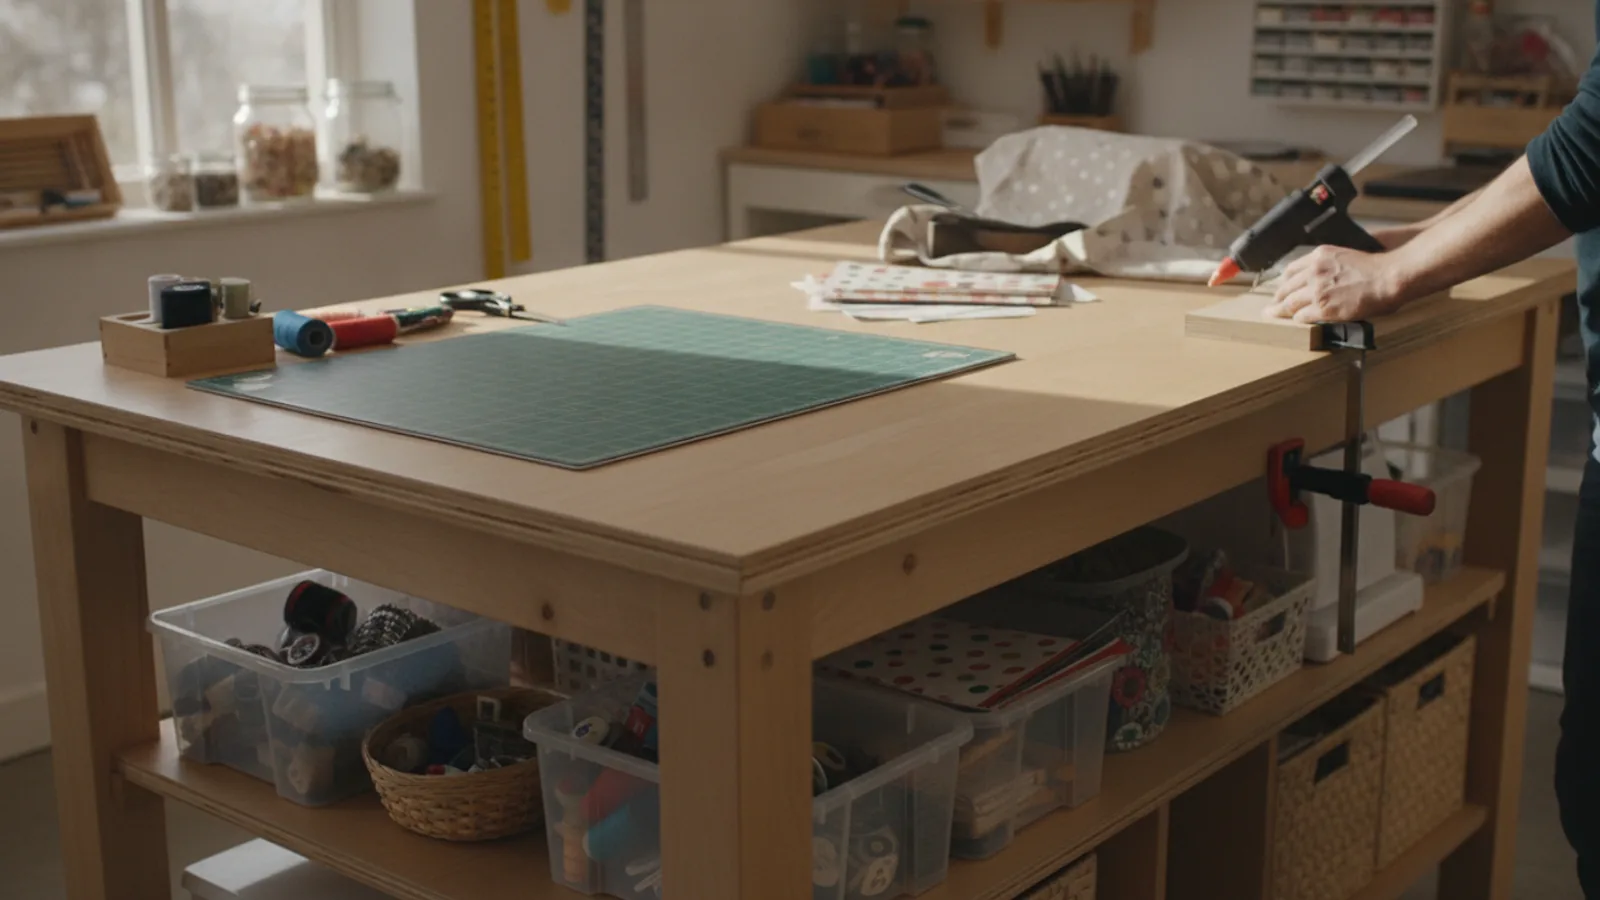
How To Build A Practical Craft Table
This guide explains how to approach how to build a practical craft table, including the preparation, practical steps, common mistakes, and final checks that help you finish with confidence.
Before You Start
Success in this project comes from careful planning. Before you buy a single screw, take the time to measure your space and consider exactly what you need from your craft table. Think about whether you'll be sitting or standing, what kind of storage is most useful, and the total weight of the equipment you'll be placing on top.
What You Need
Materials
Tools
Step-by-Step Instructions
Common Problems When You Build a Practical Craft Table
Advanced Tips for a Better Craft Table
How To Build A Practical Craft Table FAQ
What is the best material for a craft tabletop?
The best material depends on your craft and budget. A laminate kitchen worktop is extremely durable, waterproof, and easy to clean, making it great for messy crafts. Solid wood is heavy and beautiful but requires sealing and maintenance. A thick sheet of MDF or high-quality plywood offers the best value and is easy to customise with paint, but it must be properly sealed to be resistant to spills and wear.
How do I choose the right height for my craft table?
For a sitting-height table, sit in your usual craft chair with your feet flat on the floor and your arms relaxed at your sides. Bend your elbows to 90 degrees. The tabletop should be at or just below your elbow height. For a standing table, stand straight and measure from the floor to your 90-degree bent elbow. This measurement is your ideal work surface height.
Can I make the table L-shaped?
Yes, you can easily adapt this design to an L-shape. You would need three base units and two tabletops. Position one base unit in the corner, with the other two at the ends. One tabletop would span the corner unit and one end unit, while the second tabletop would span the corner unit and the other end unit, meeting at a right angle.
Do I really need to drill pilot holes?
Yes, this is not a step to skip. Drilling pilot holes prevents the wood or particleboard from splitting when the screw is driven in. This creates a much stronger, more reliable connection and avoids damaging your new materials. It is especially critical when working with MDF and the edges of plywood.